Quick Start
Unboxing Video
- Two operators are required, standing at the robot’s head and leg sides respectively.
- One operator secures Adam with the suspension hook, while the other lifts the legs and removes the robot from the crate.
Tip
Head installation: Align the screw holes at the bottom of the neck with the connector and fasten with screws
(power cable 19V/6A and Ethernet cable are located at the end).
Charging
Important
The robot may be delivered with low battery. Fully charge before use.
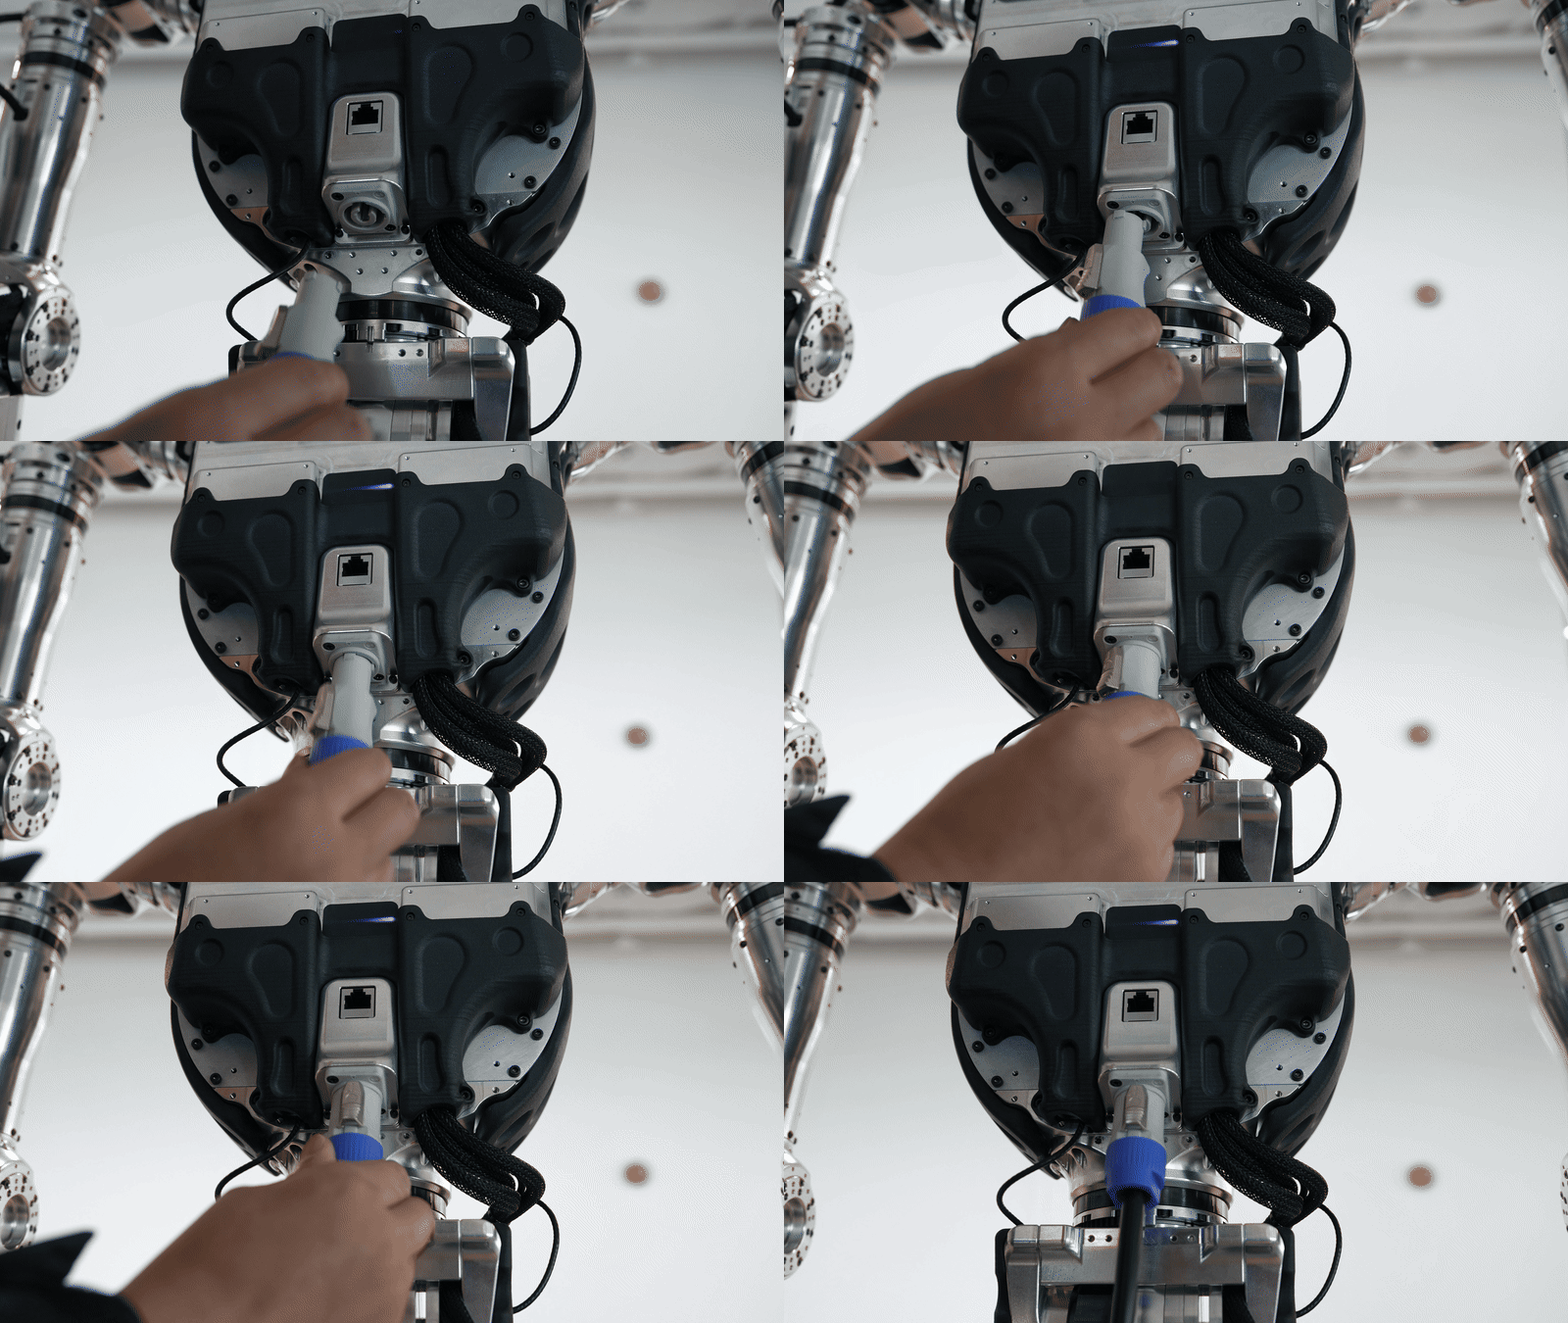
- Plug the charger into the power source first, then connect it to the robot charging port.
- Adjust the charger knob and set the current to 10A (recommended).
Tutoring Video
Power-On
Important
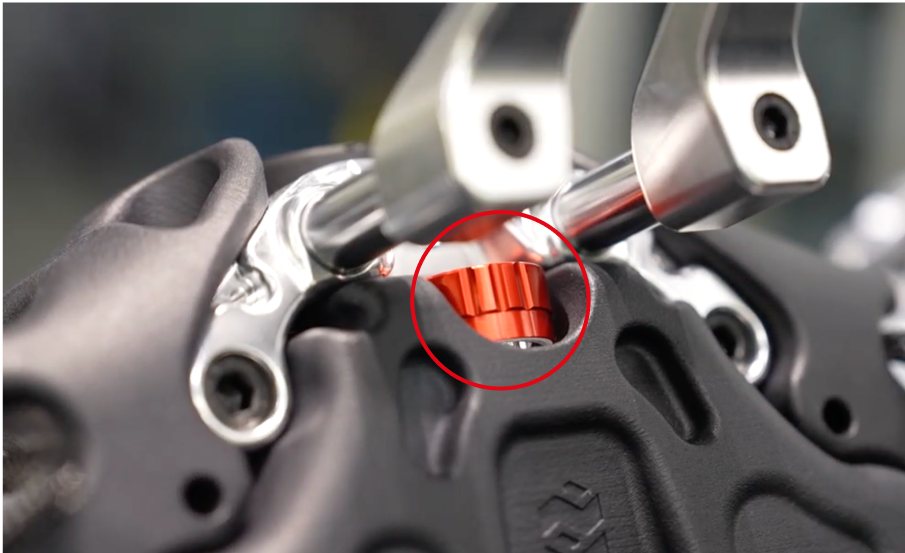
- In emergencies, press LB + RB on the controller to cut power first, then press the red emergency stop button on the robot.
- Each operation should not exceed 30 minutes to avoid overheating.
- Keep the robot suspended to prevent falling.
Step 1: Full-body Inspection
Check that all actuator cables are securely connected and ensure the red emergency stop button on the robot body is released.
Step 2: Router Connection
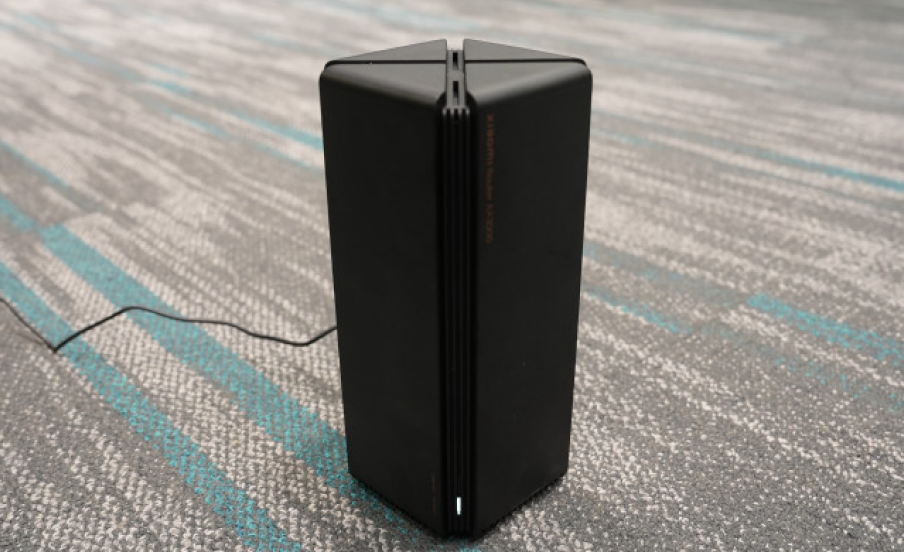
Insert the Ethernet cable into the router’s WAN port. After powering on, wait for 30 seconds. The indicator light turning from red to white indicates a successful connection.
New firmware supports one-click startup, merging the previous multi-step process.
Power-on
Step 3: RCU Startup
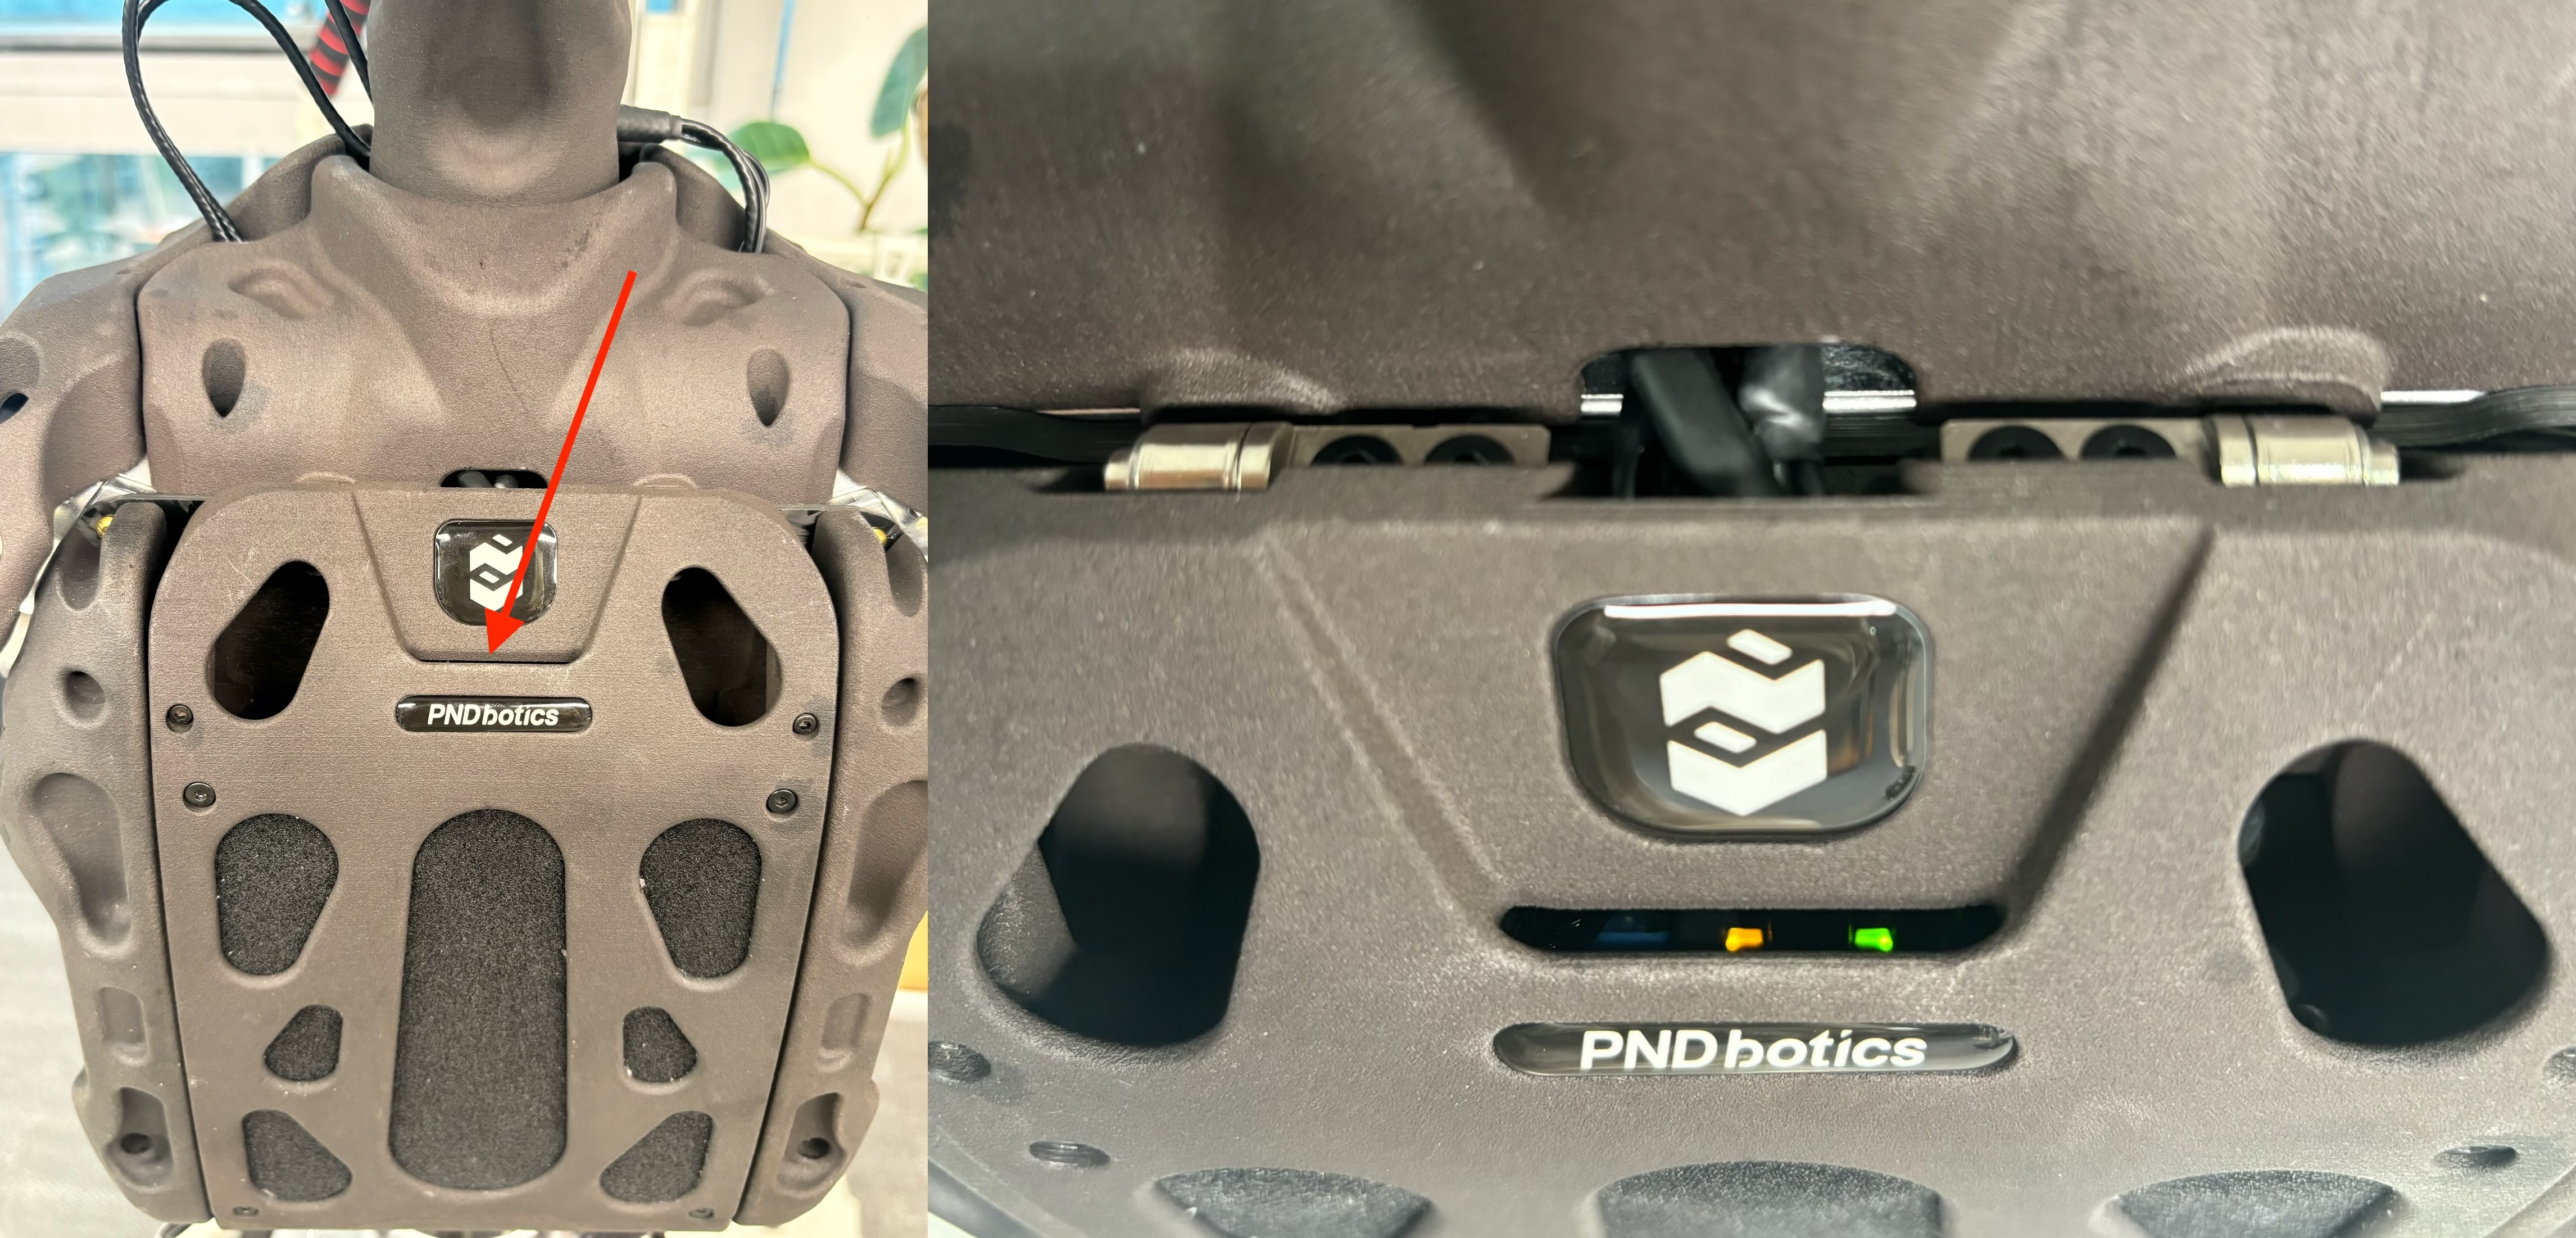
Short press the gold button on the left side under the chest battery cover.
The RCU indicator slowly flashes purple, indicating successful startup.
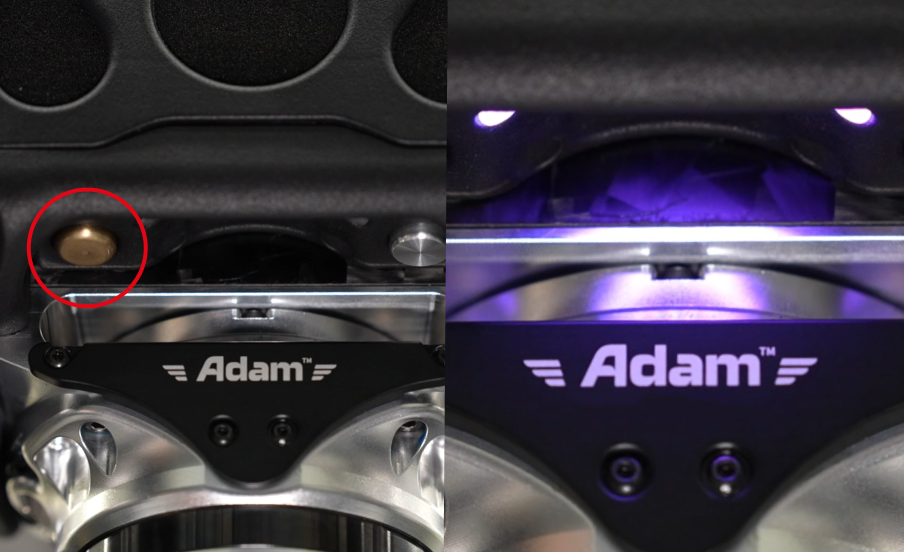
Step 4: NUC Startup
-
Short press the silver button on the right side under the chest battery cover to start the NUC.
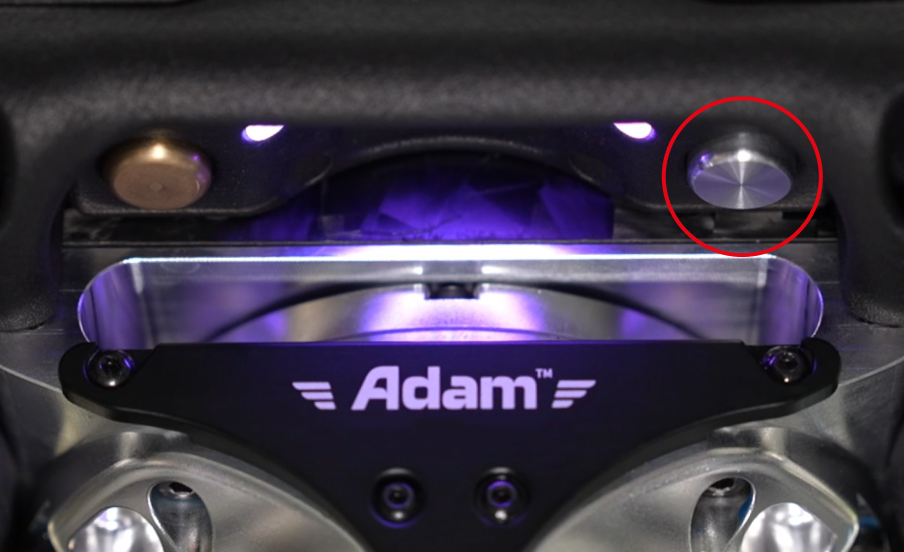
-
After about 20 seconds, the NUC indicator shows solid orange with green blinking, indicating normal communication. (Visible from the front chest battery cover gap)
Step 5: Actuator Power-On (Choose One)
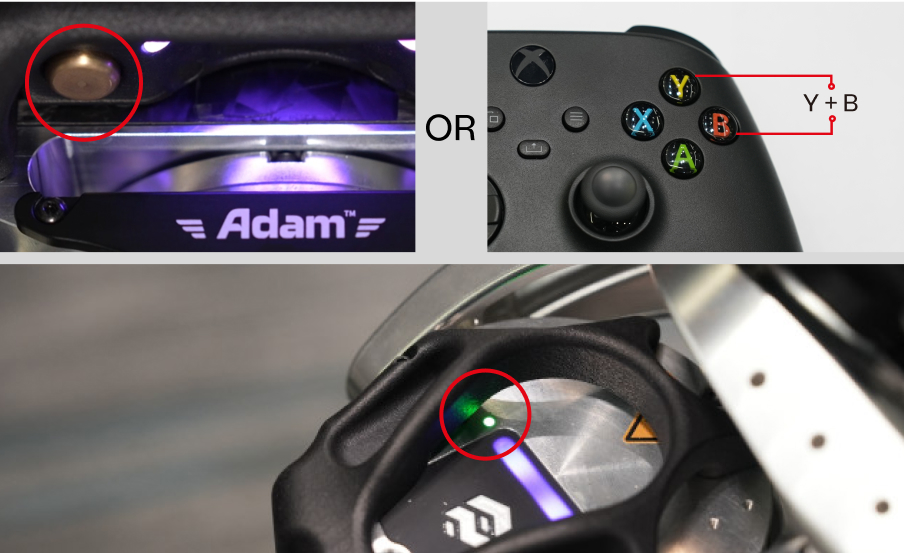
- Robot button: short press the gold button
- Controller buttons:
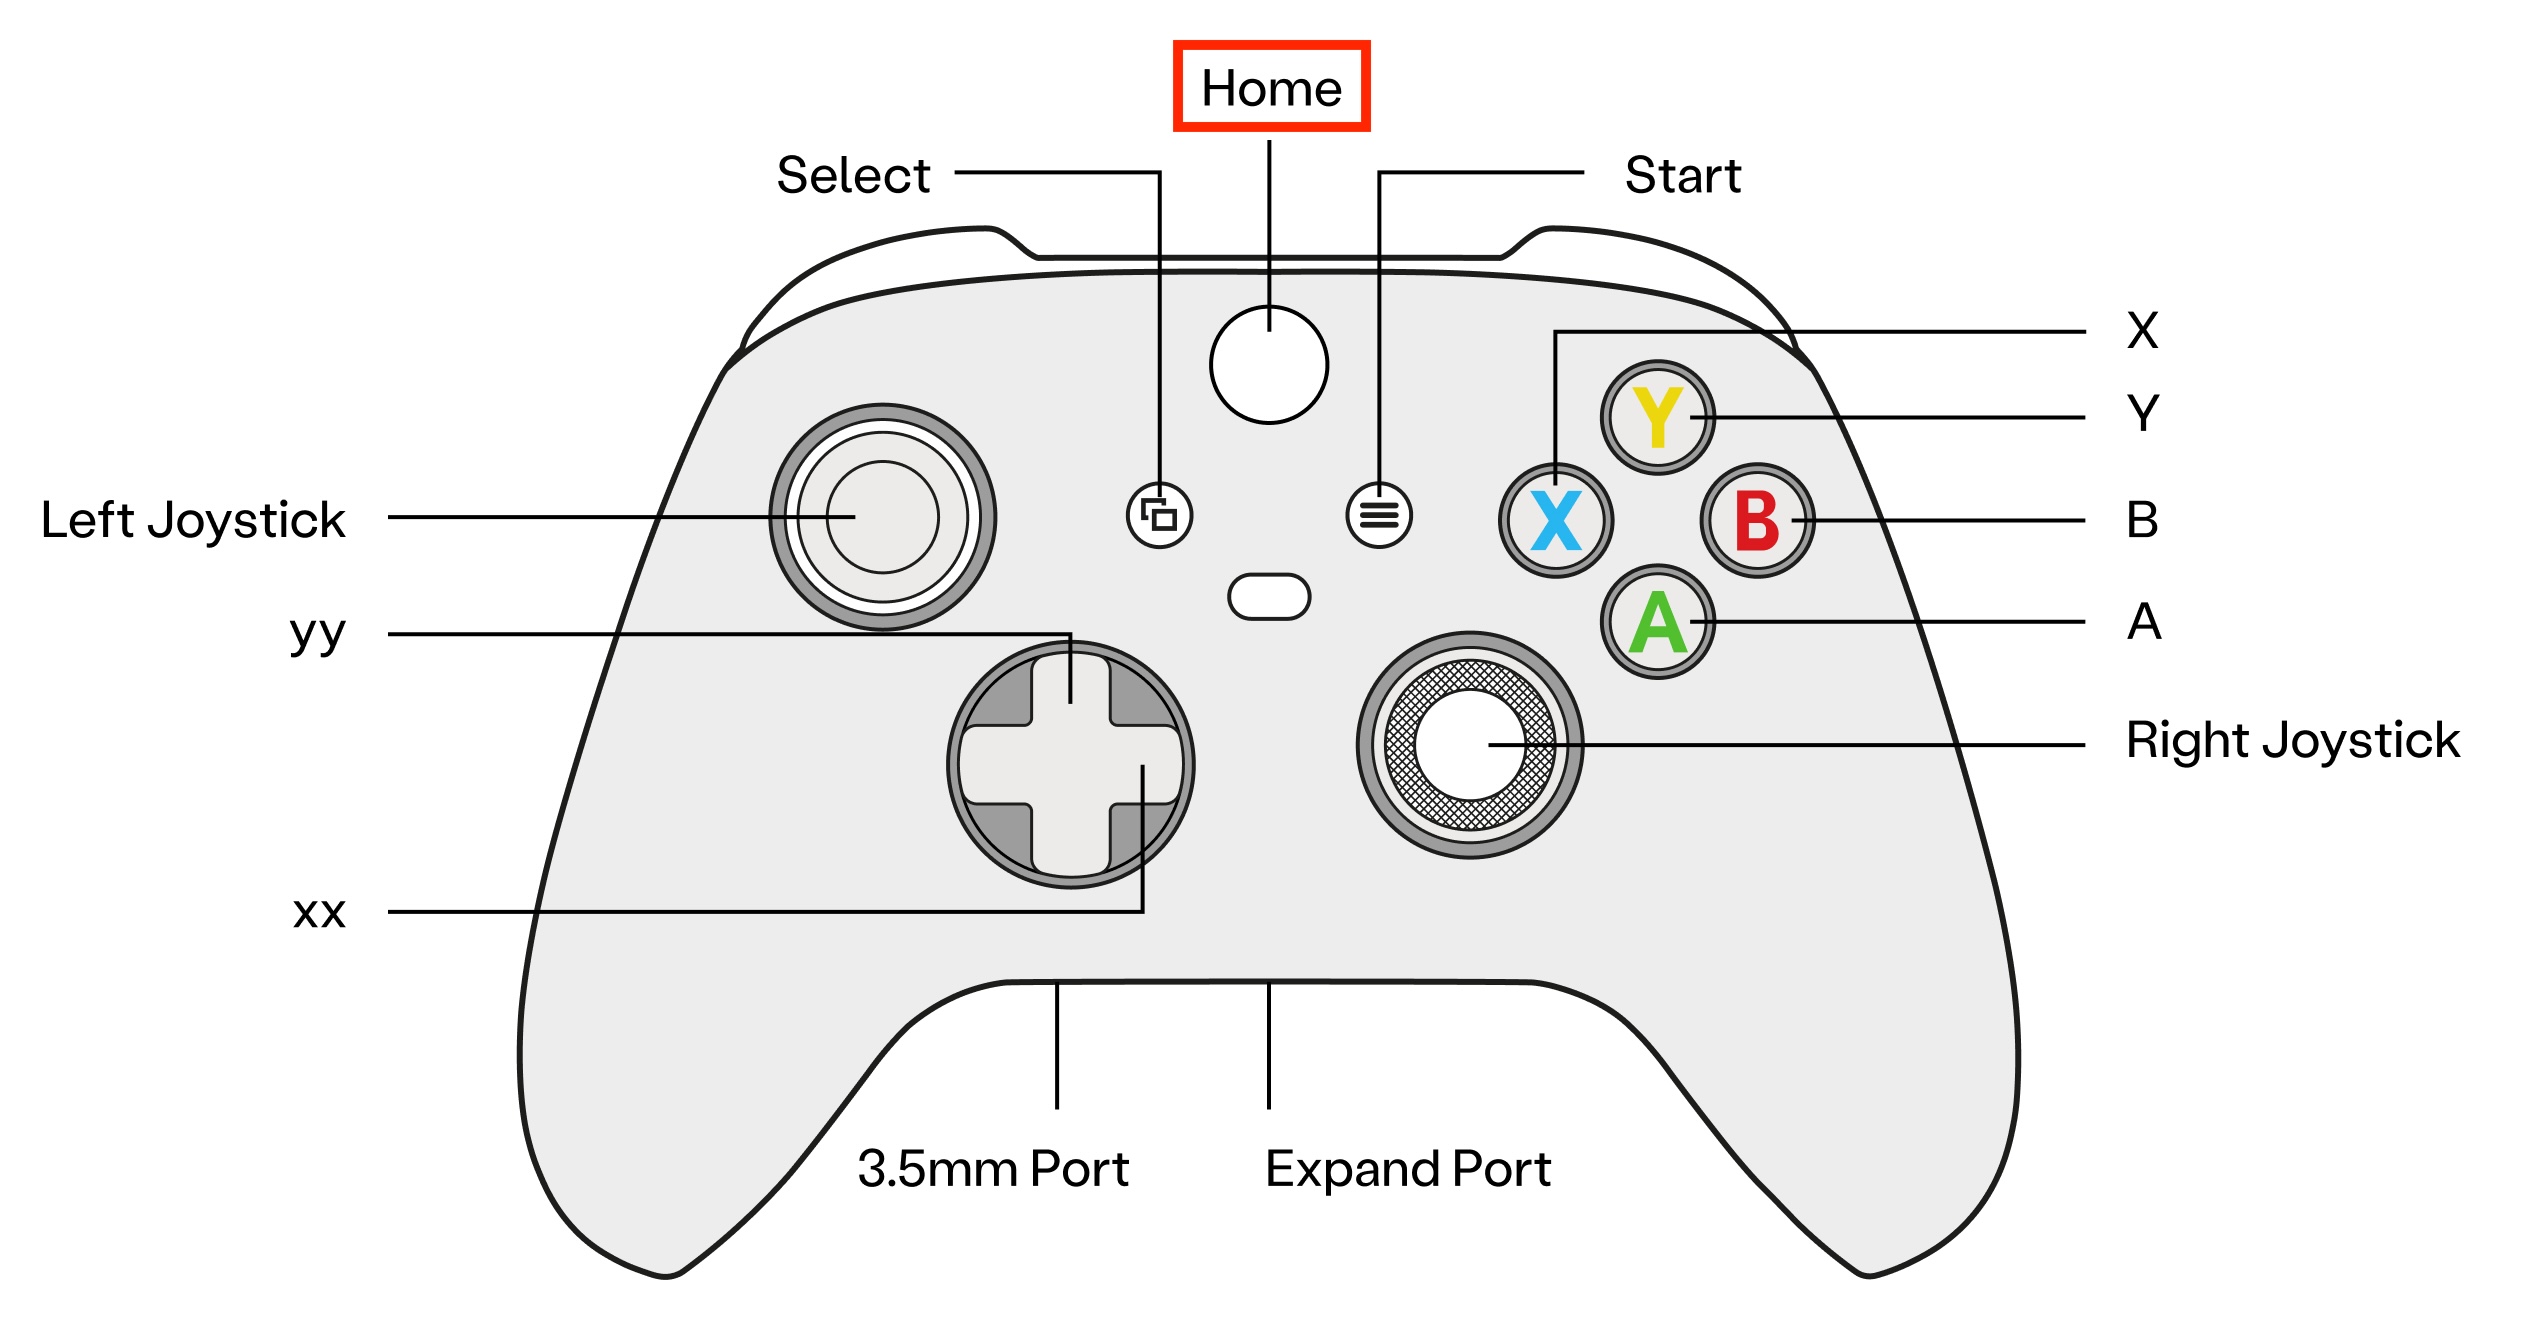
- Press Home to power on the controller. When the indicator stays on, pairing is complete.
- Press Y + B
After 7–8 seconds, the actuator indicator slowly flashes purple and the actuator Ethernet LED stays solid green, indicating successful power-on.
Step 3: One-Click Startup
Long press (3s) the gold button under the chest battery cover on the left side.
The RCU indicator slowly flashes purple.

After 5–7 seconds, the actuator indicator slowly flashes purple and the actuator Ethernet LED stays solid green, indicating successful startup.
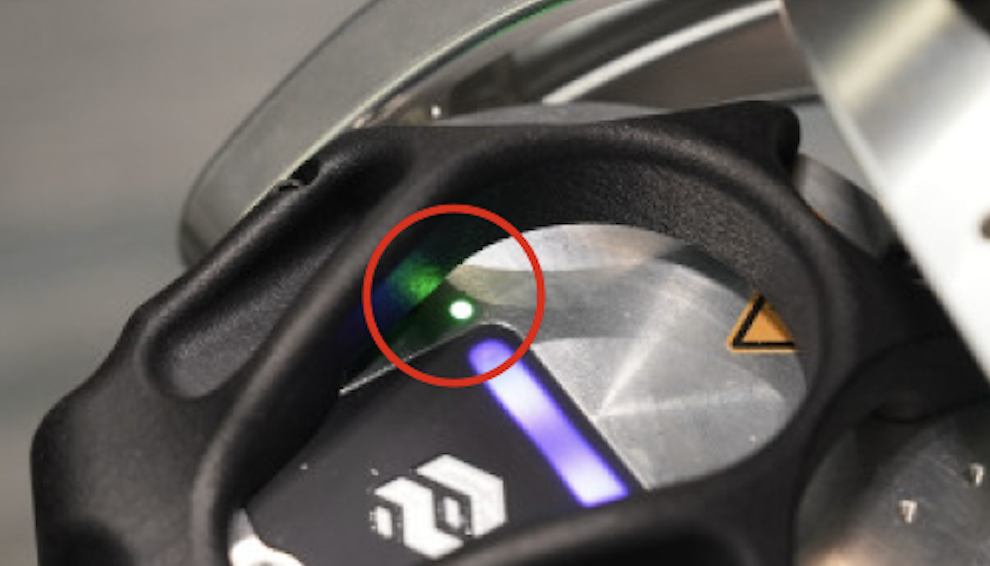
Tips
- No indicator light: check whether the emergency stop button is released.
- Indicator turns red: short press the gold button to shut down, then short press again to restart.
Initialization
Wi-Fi Connection
Ensure the router is connected to the internet. Connect your computer to the router Wi-Fi:
- SSID:
PndAdam - Password:
PND-Adam
Zero Position Calibration
Only applicable to non-full absolute encoder versions.
Robots with full absolute encoders can skip this step.
Click to expand zero calibration steps
The arms and shoulders of Adam require manual zero calibration.
This should be performed once after each power-on.
The operator should hold the robot arms in the following posture: - Arms fully extended - Shoulder and arm alignment slots aligned - Hands one palm-width away from the body
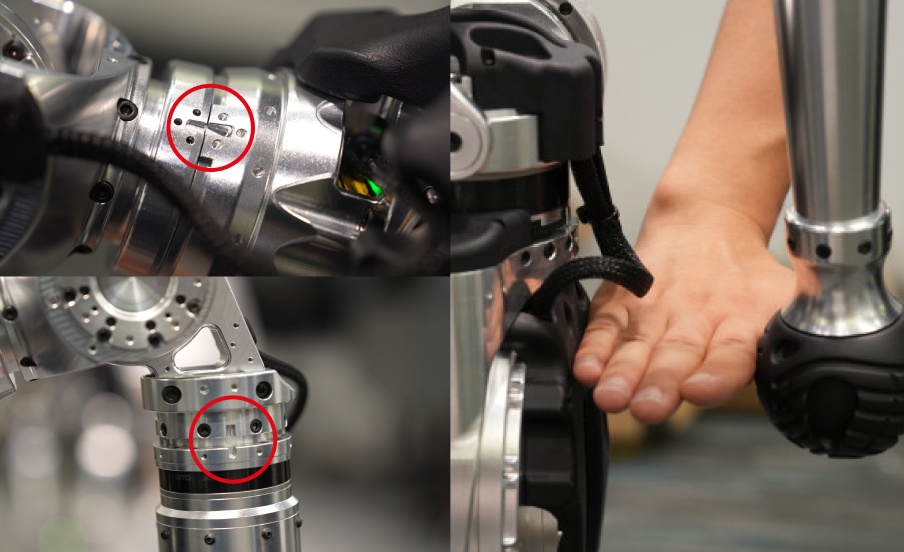
Tip: Maintain the zero position until another operator completes the subsequent steps on the computer.
Robot Control
Demo Startup (Choose One)
Do Not Use Multiple Methods Simultaneously
- Enter the robot IP in the browser:
192.168.XX.XX(found on the back of the controller). - Keep the robot in zero position and click Start Demo in the PAC interface.

When "started!" is displayed, press A on the controller to enter Ready Mode, then proceed to Demo Operation.
Skip if PAC startup has already been used.
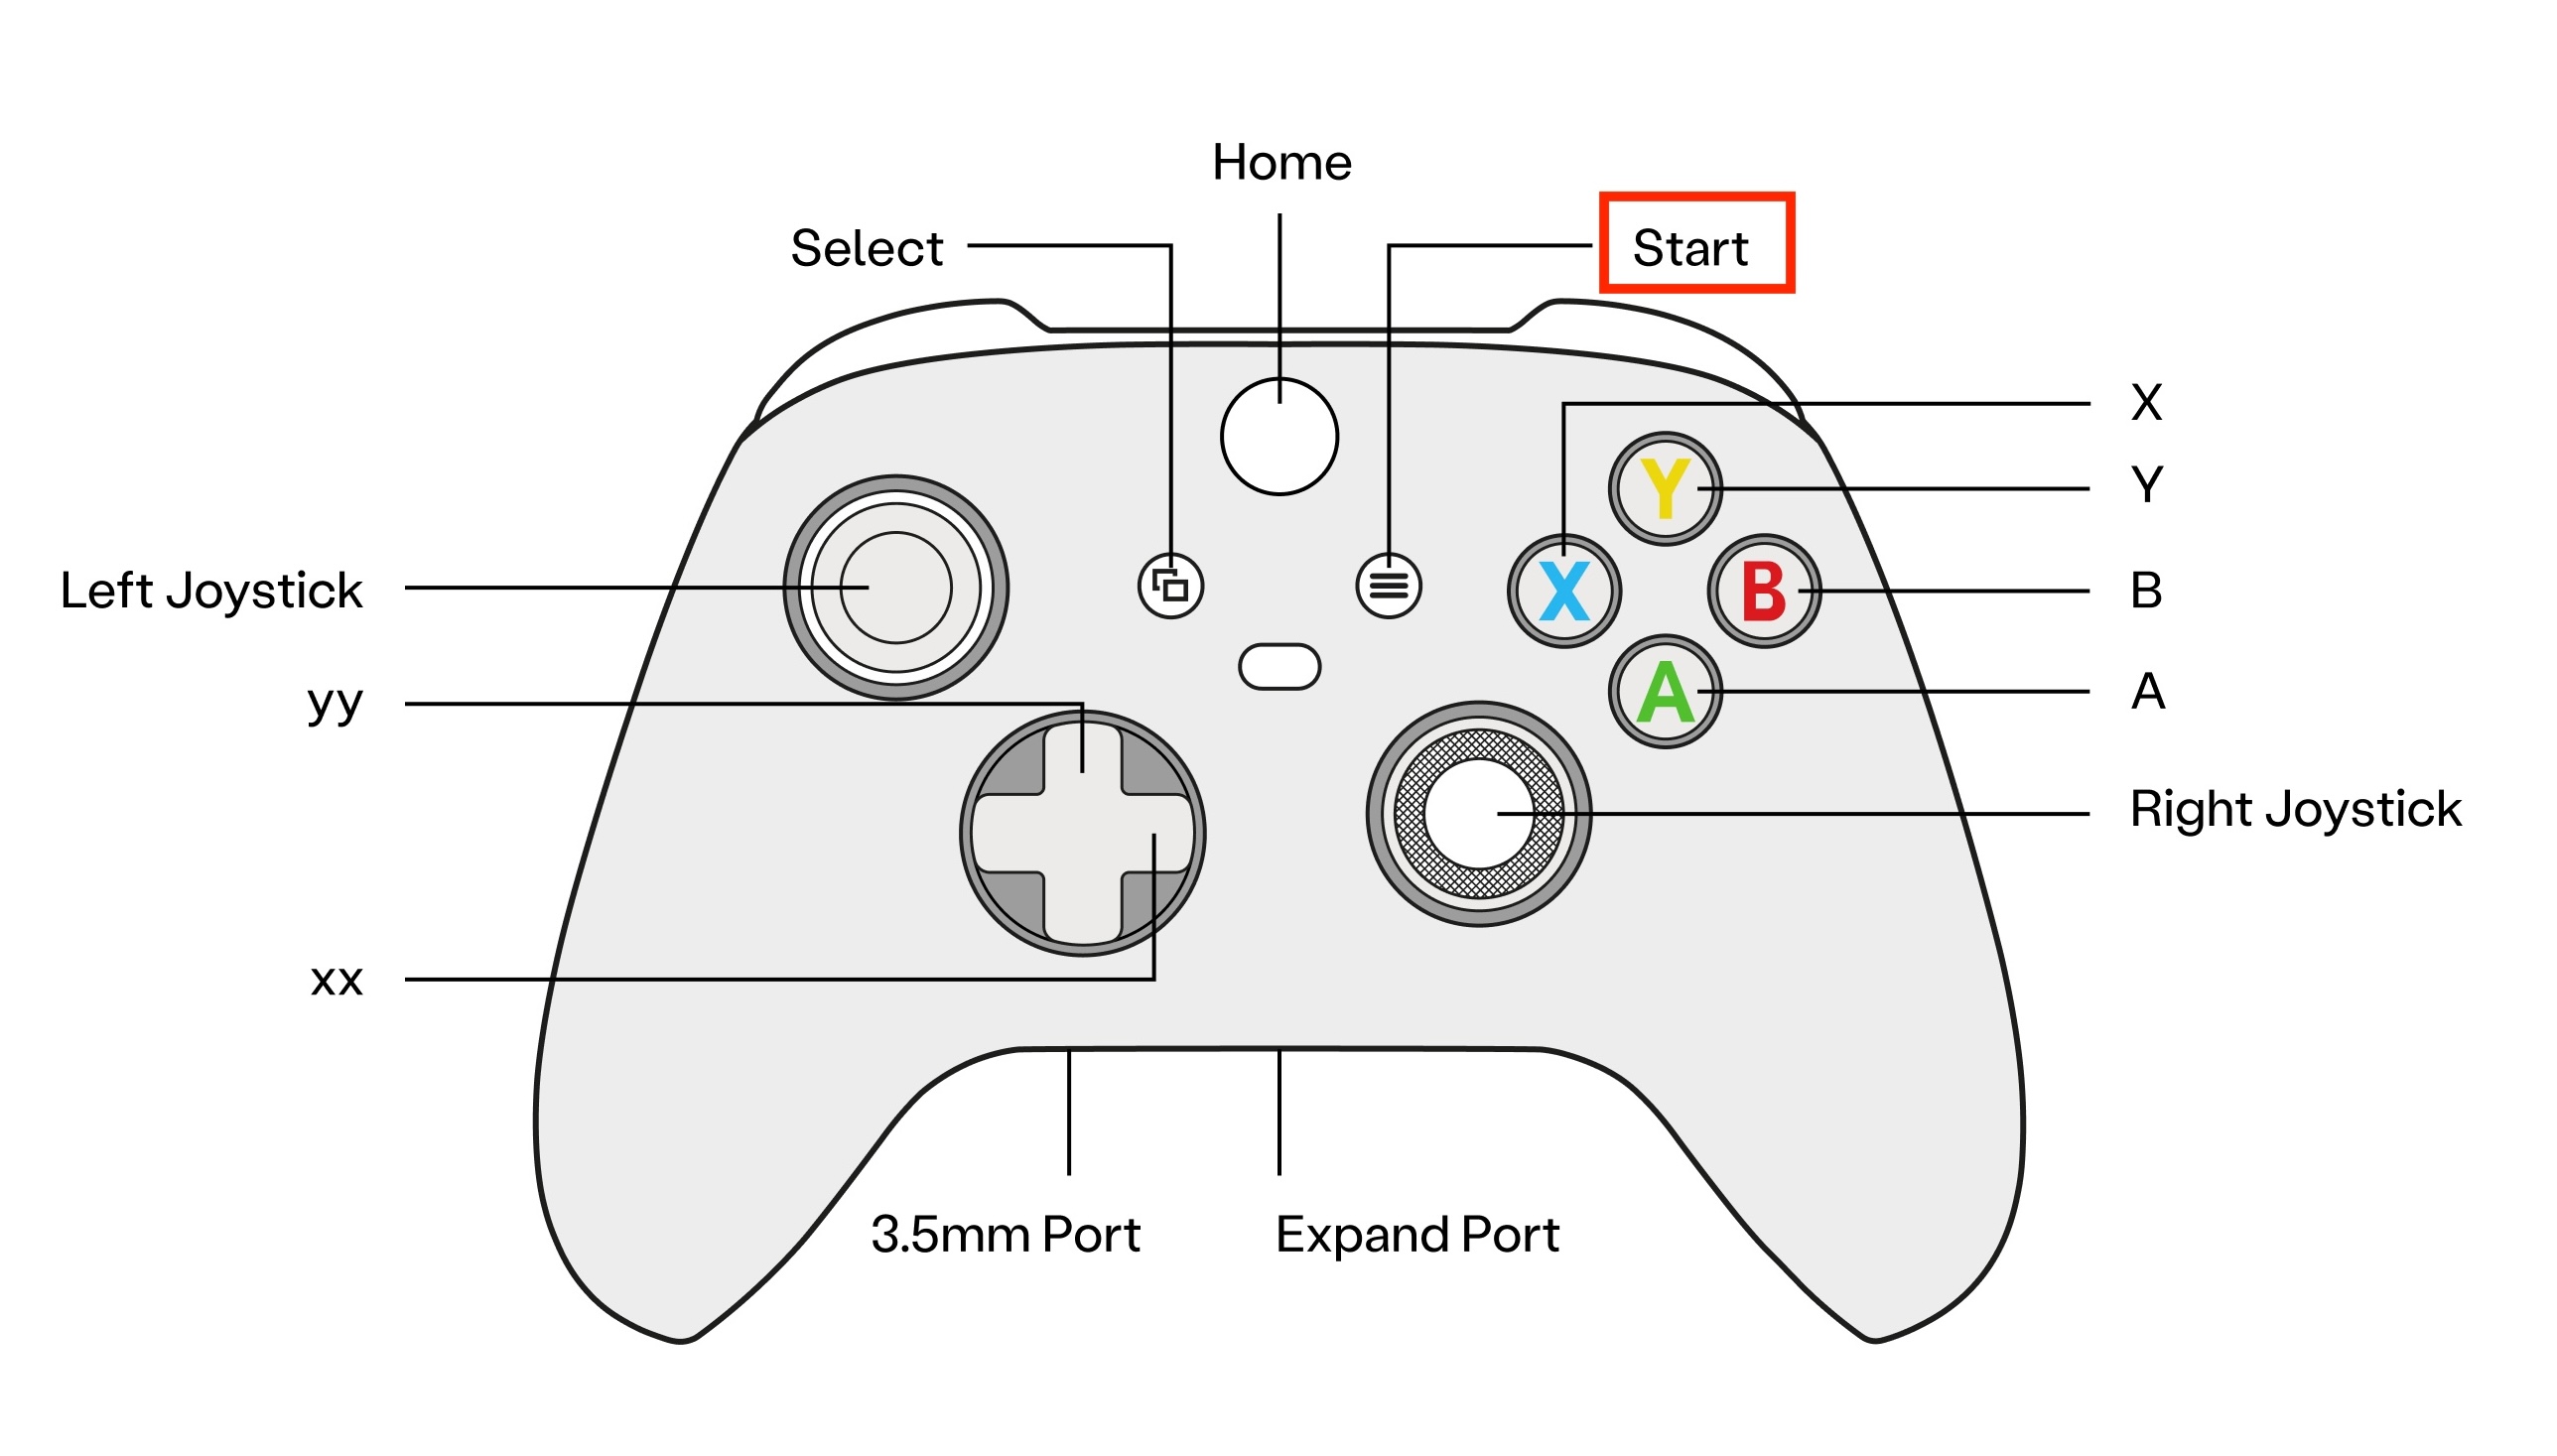
Long press Start on the controller for 5 seconds.
Fast blinking green on the actuator Ethernet LED indicates successful startup.
Press A to enter Ready Mode.
Skip if PAC or controller startup has already been used.
-
SSH into the NUC:
ssh pnd-humanoid@192.168.XX.XX
Password:pndxyz -
Enter the demo directory:
cd /home/pnd-humanoid/Documents/adam_demo/bin -
Start the demo:
sh run.sh -
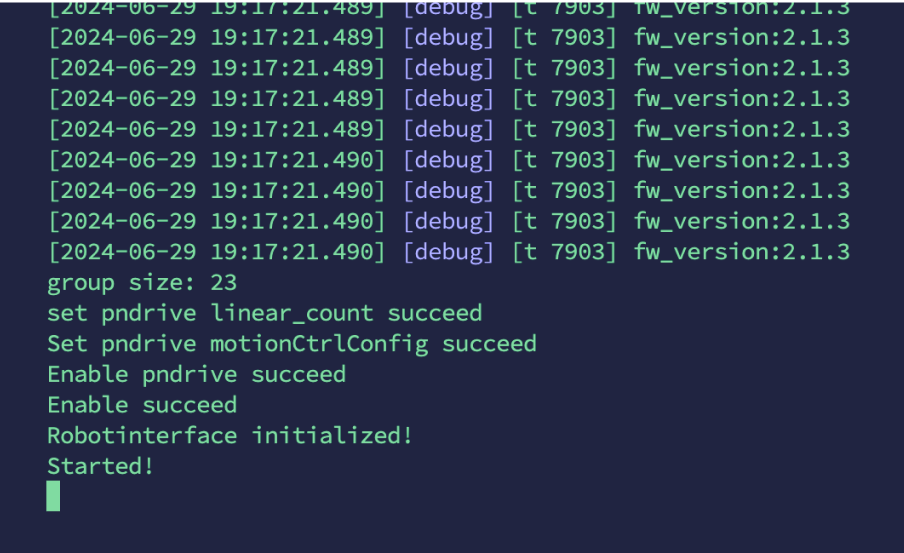
Wait for terminal output:
Started! -
Press A on the controller to enter Ready Mode
The terminal will display roll / pitch / yaw posture data.
Tips
- After entering Ready Mode, check posture. If abnormal, re-zero using the positioning pin (contact support).
- If
vn time outorabs missappears, wait a few seconds and retry.
Other errors: see FAQ
Demo Operation
1. Ground Contact Check
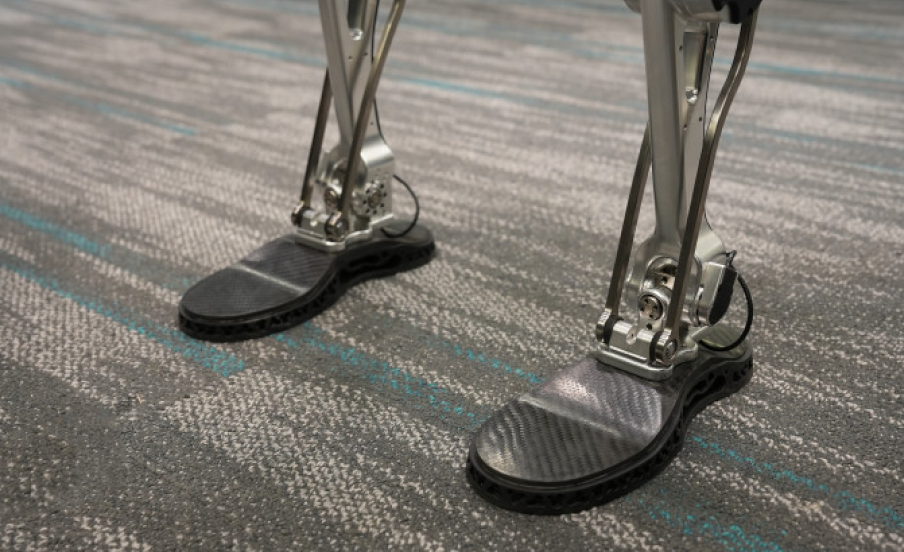
Lower the suspension rope until both feet are fully on the ground and confirm upright posture.
If drifting occurs, power off and restart after 30 seconds.
2. Standing Mode
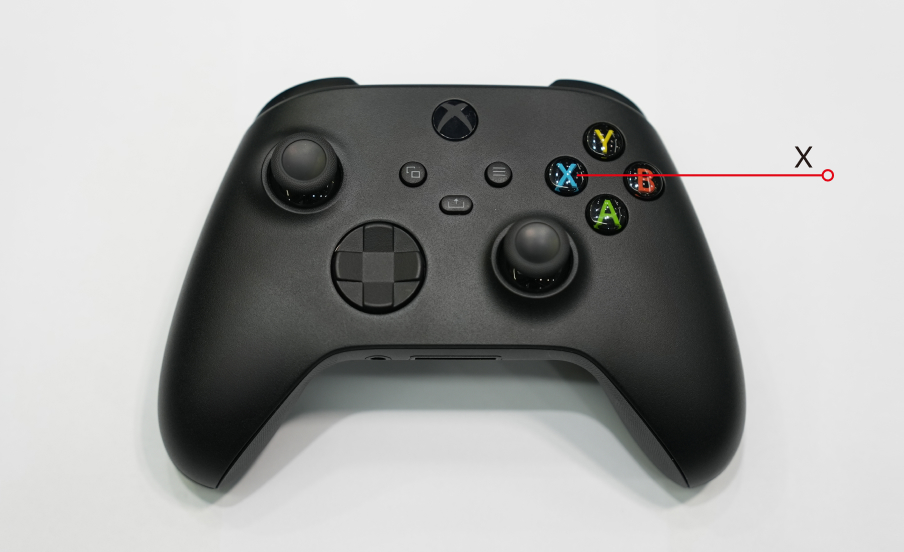
Press X on the controller to enter Standing Mode.
3. Walking Mode
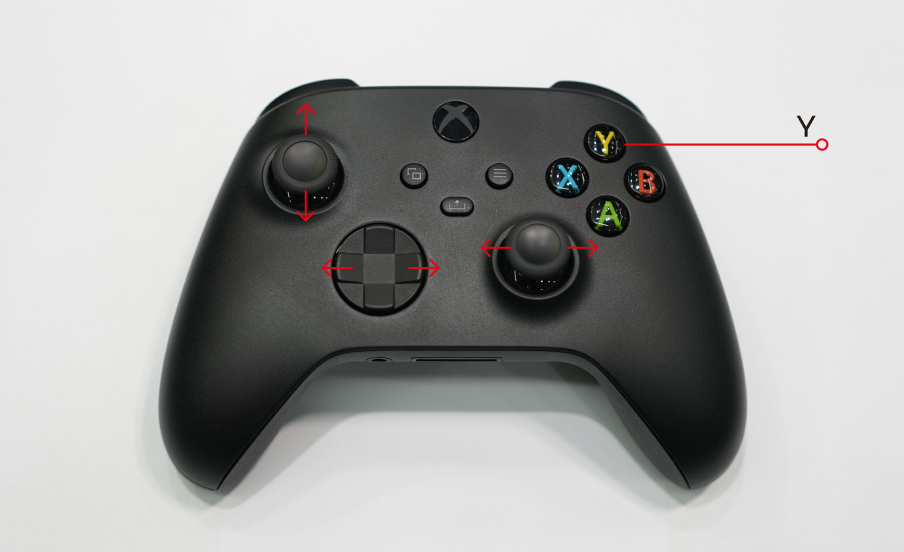
In Standing Mode, press Y to enter Walking Mode:
- Left joystick up/down → forward/backward speed
- Right joystick left/right → turning
- Left D-pad horizontal → lateral movement
Press X to return to Standing Mode.
4. Running Mode
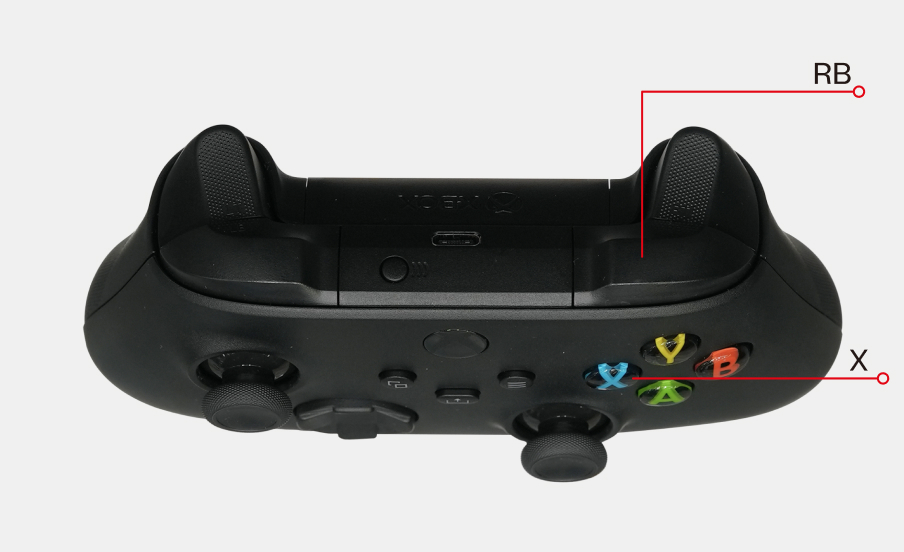
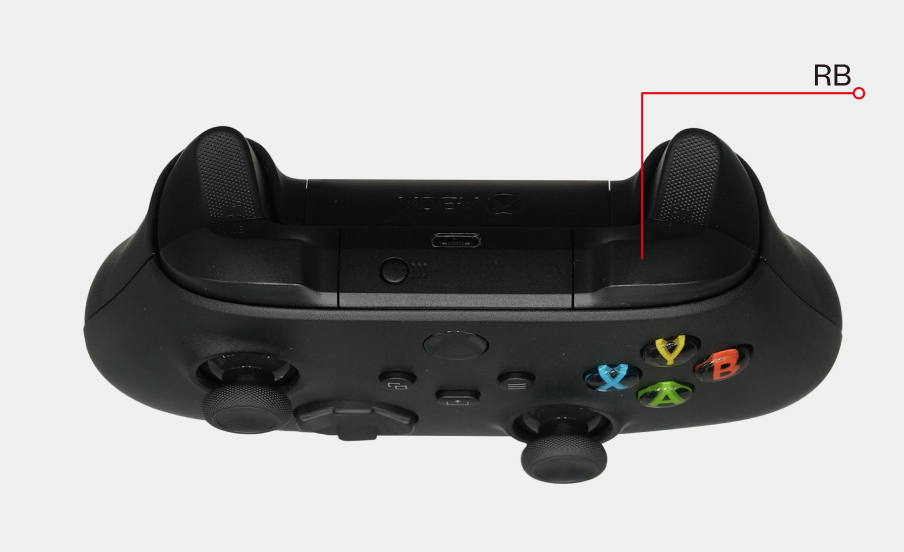
- In Walking Mode, press RB to enter Running Mode
- Press RB again to return to Walking Mode
5. Action Execution
In Standing Mode, press RB to execute predefined actions.
Press RB again to execute the next action.
Demo Exit
1. Damping Mode
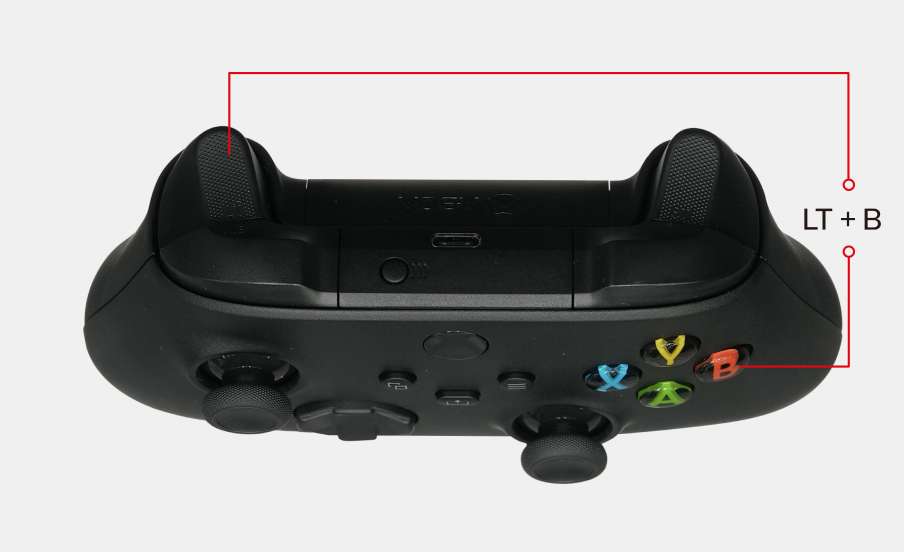
While standing still and with the suspension rope tightened, press LT + B to unlock joints and enter damping mode.
After this operation, joints will lose torque. Ensure the robot is properly suspended.
2. Exit Program
- Lift the suspension rope so both feet are off the ground.
- Press LT + RT to exit the demo control program.
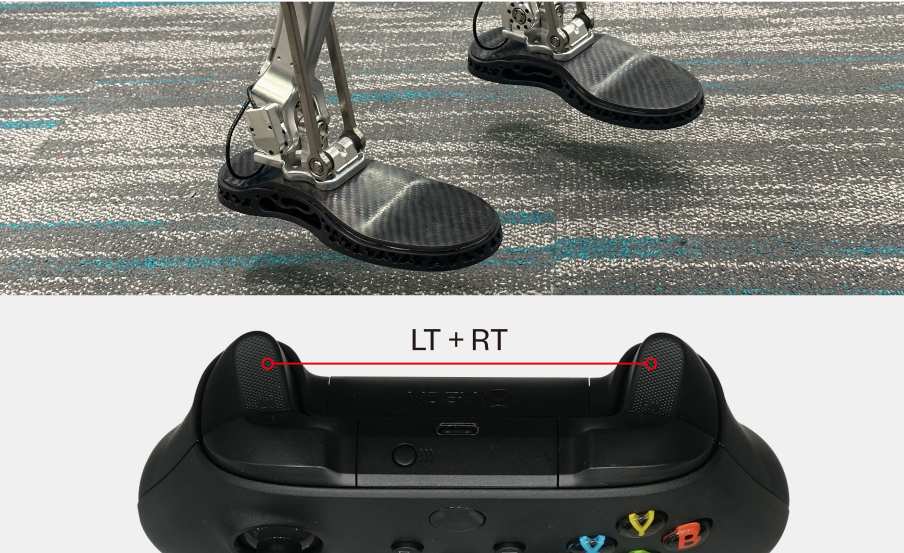
The actuator Ethernet LED changes from blinking to solid green, indicating a successful exit.
Shutdown
Important
- Ensure the Demo Exit before shutdown.
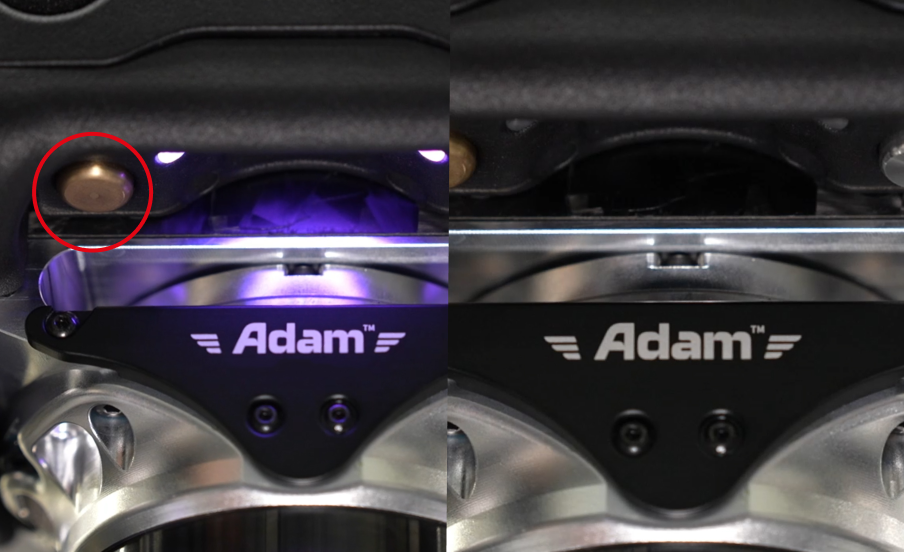
Long press the gold button on the robot body for more than 6 seconds.
The purple RCU indicator turns off, indicating the robot has entered sleep mode.
Battery Level Check
- Connect your computer to the router Wi-Fi (same network as the robot).
- Enter the robot IP in the browser:
192.168.XX.XX. - Check the battery level under Basic Information in the PAC interface.

